FAQs/Integrations & tracking/Revsure Intercom Integration Implementation Guide
Integrations & tracking · RevSure FAQs

Revsure Intercom Integration Implementation Guide

Short answer

This guide connects Intercom to RevSure. In Data Hub, add an Intercom source, name the connection, set the historical date and sync frequency, connect, and confirm permissions. This brings Intercom conversation and support data into RevSure.

1. Navigate to Revsure App
Revsure Intercom Integration Implementation Guide (figure 1)

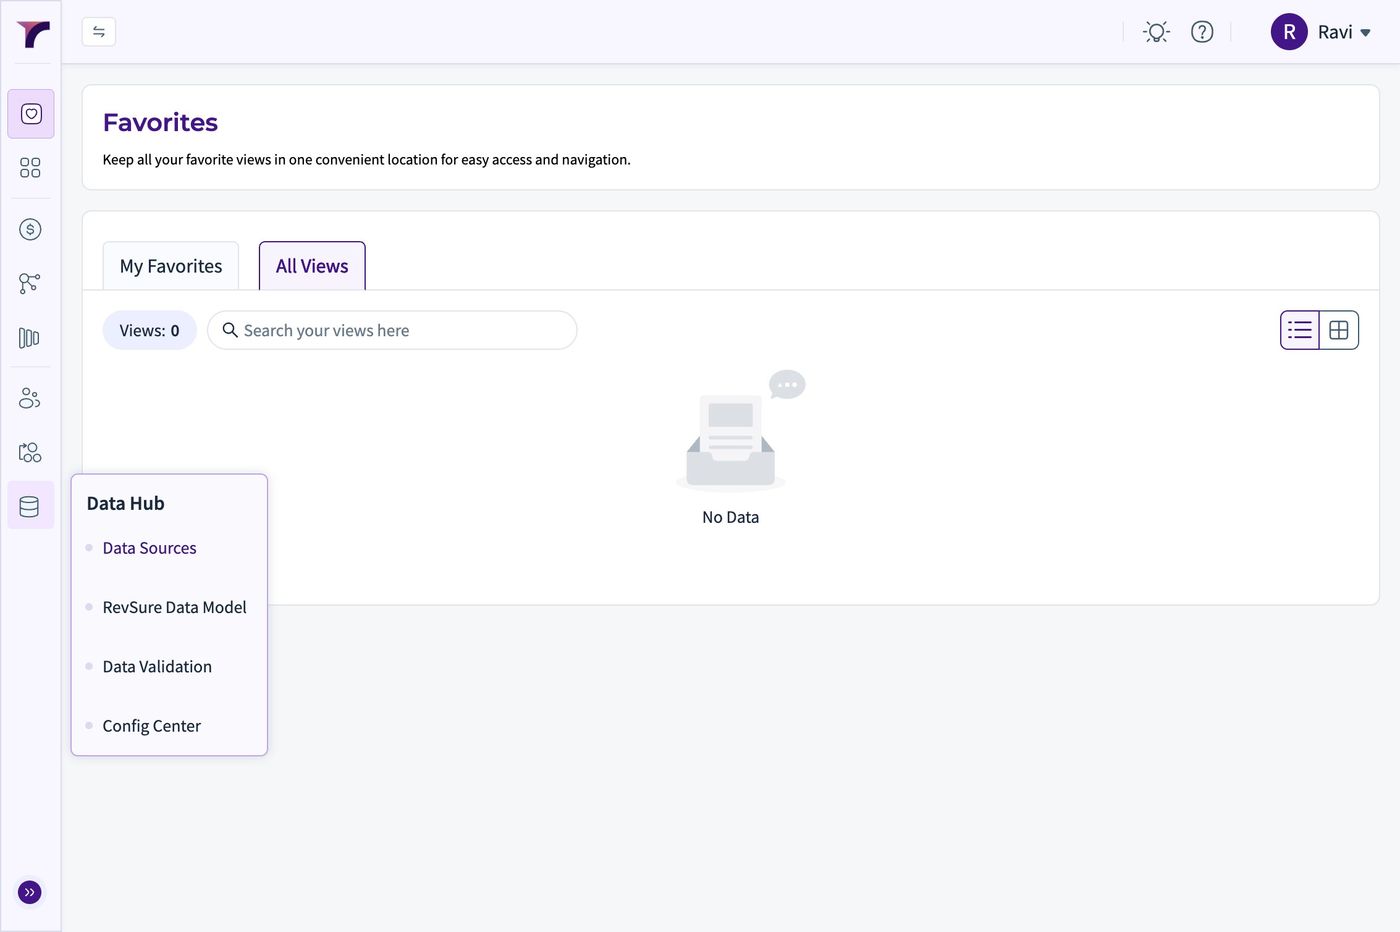
2. Click on Data Hub.

Revsure Intercom Integration Implementation Guide (figure 2)

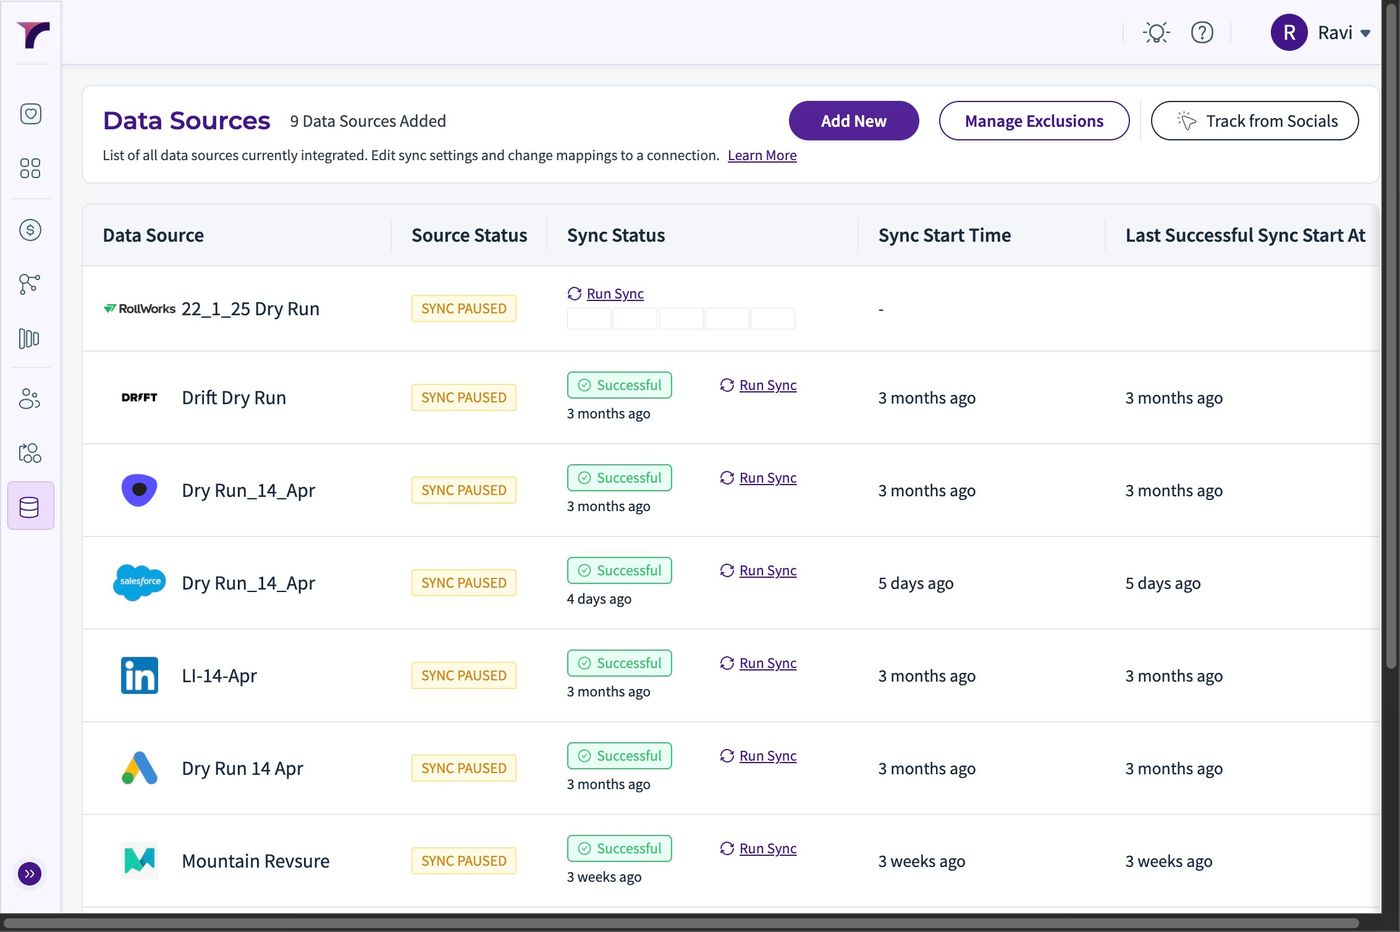
3. Click "Data Sources"

Revsure Intercom Integration Implementation Guide (figure 3)

4. Click "Add New"

Revsure Intercom Integration Implementation Guide (figure 4)

5. Click Intercom from the list of sources
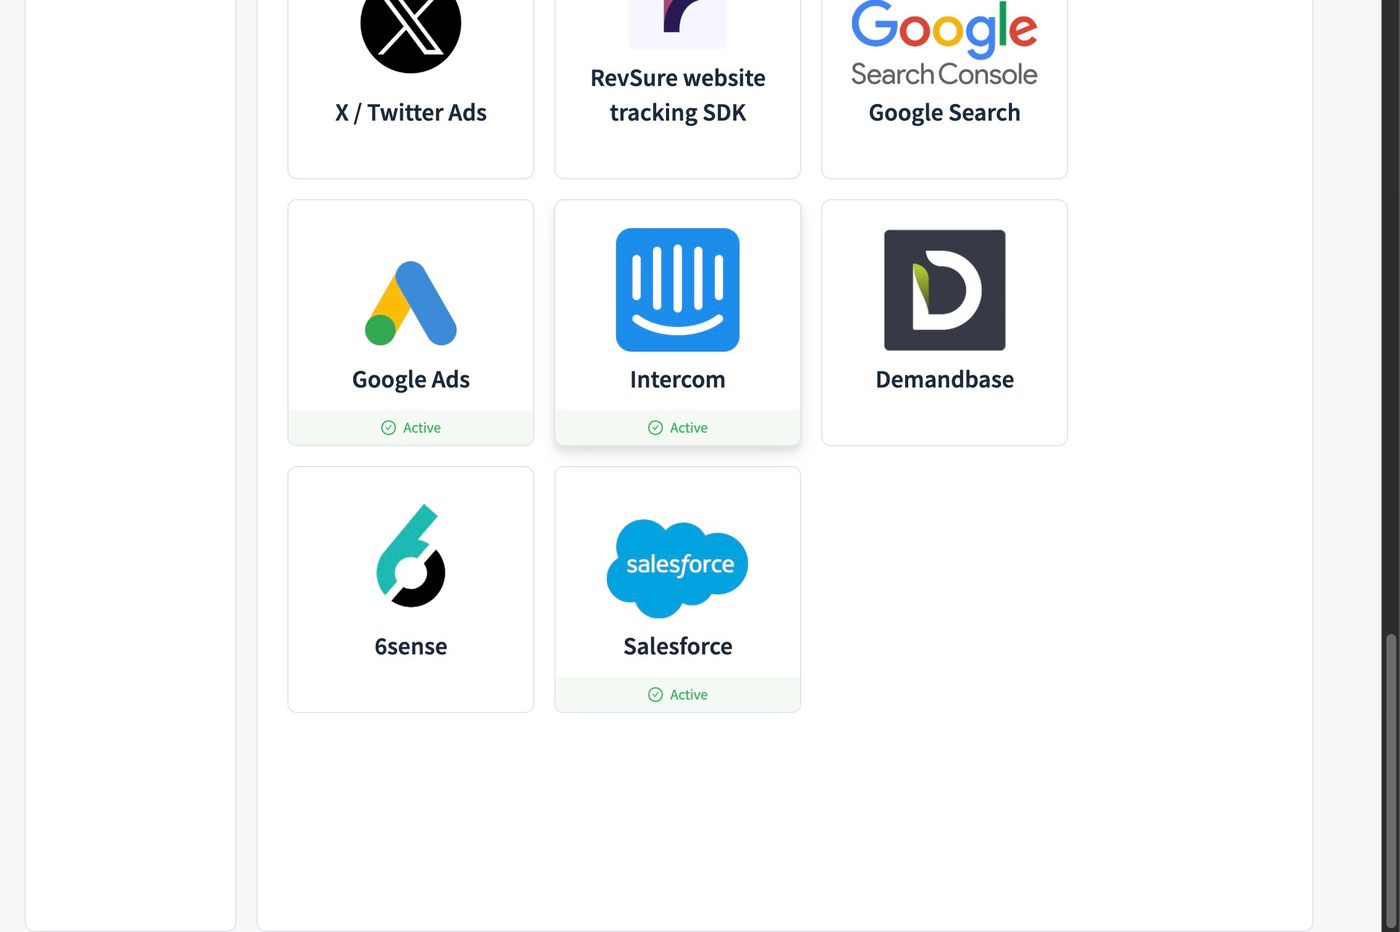
Revsure Intercom Integration Implementation Guide (figure 5)

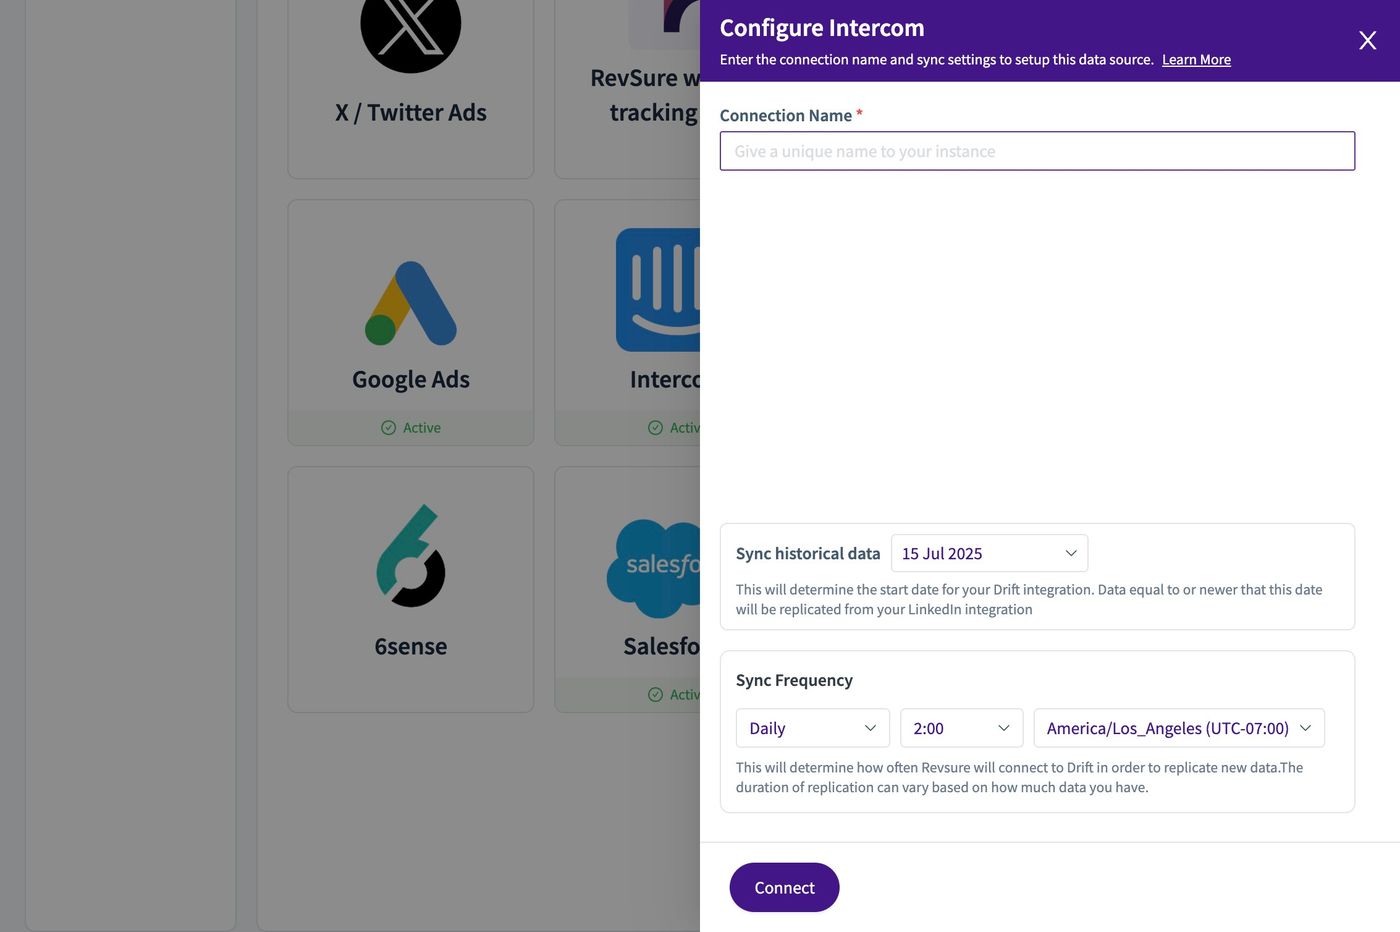
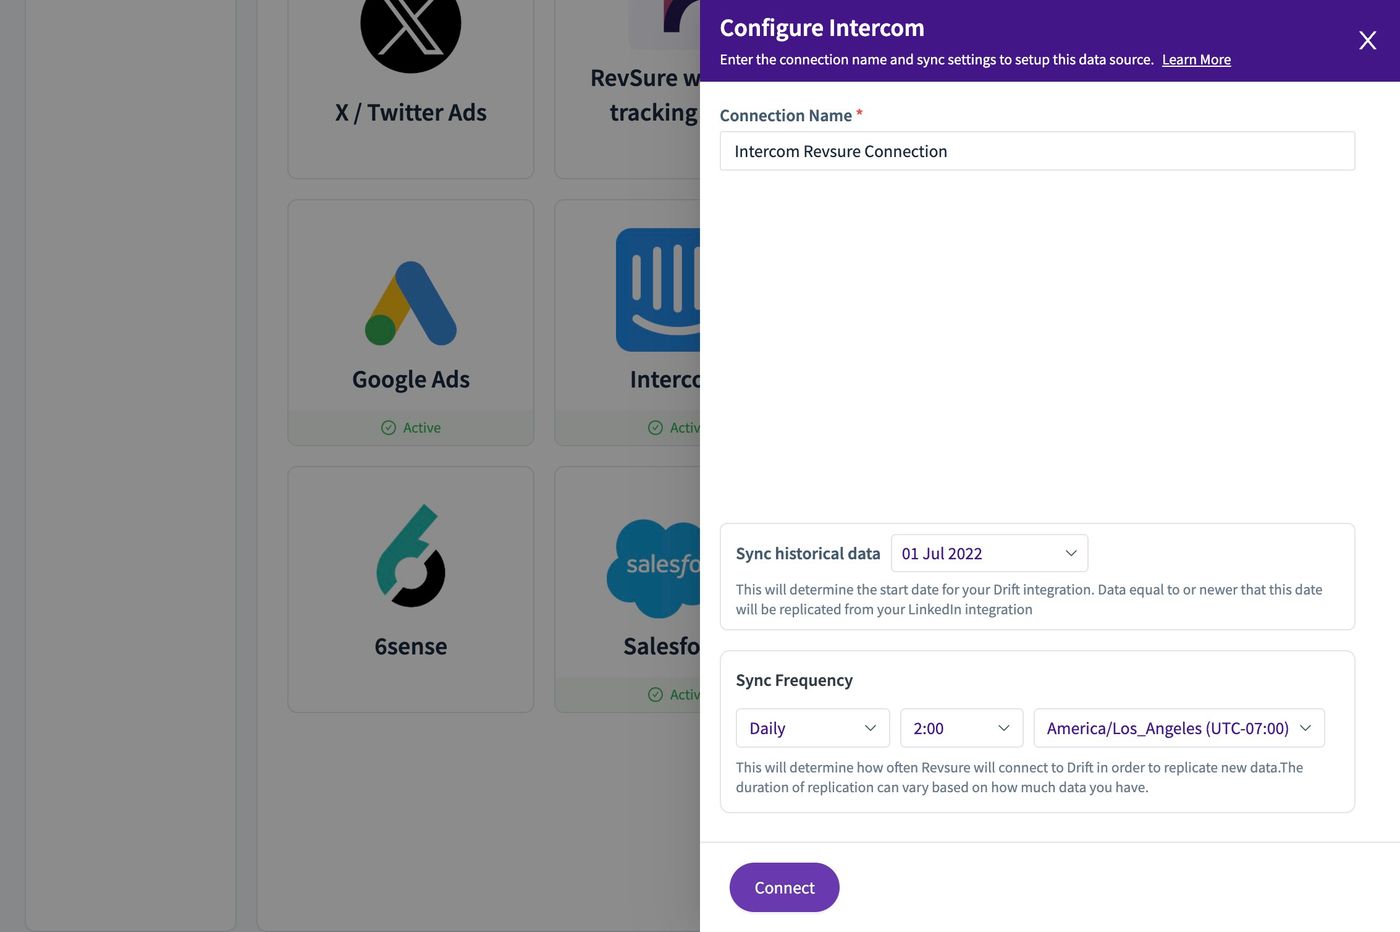
6. Give the Connection a Name

Revsure Intercom Integration Implementation Guide (figure 6)

7. You can set the Historical Data Date and Frequency
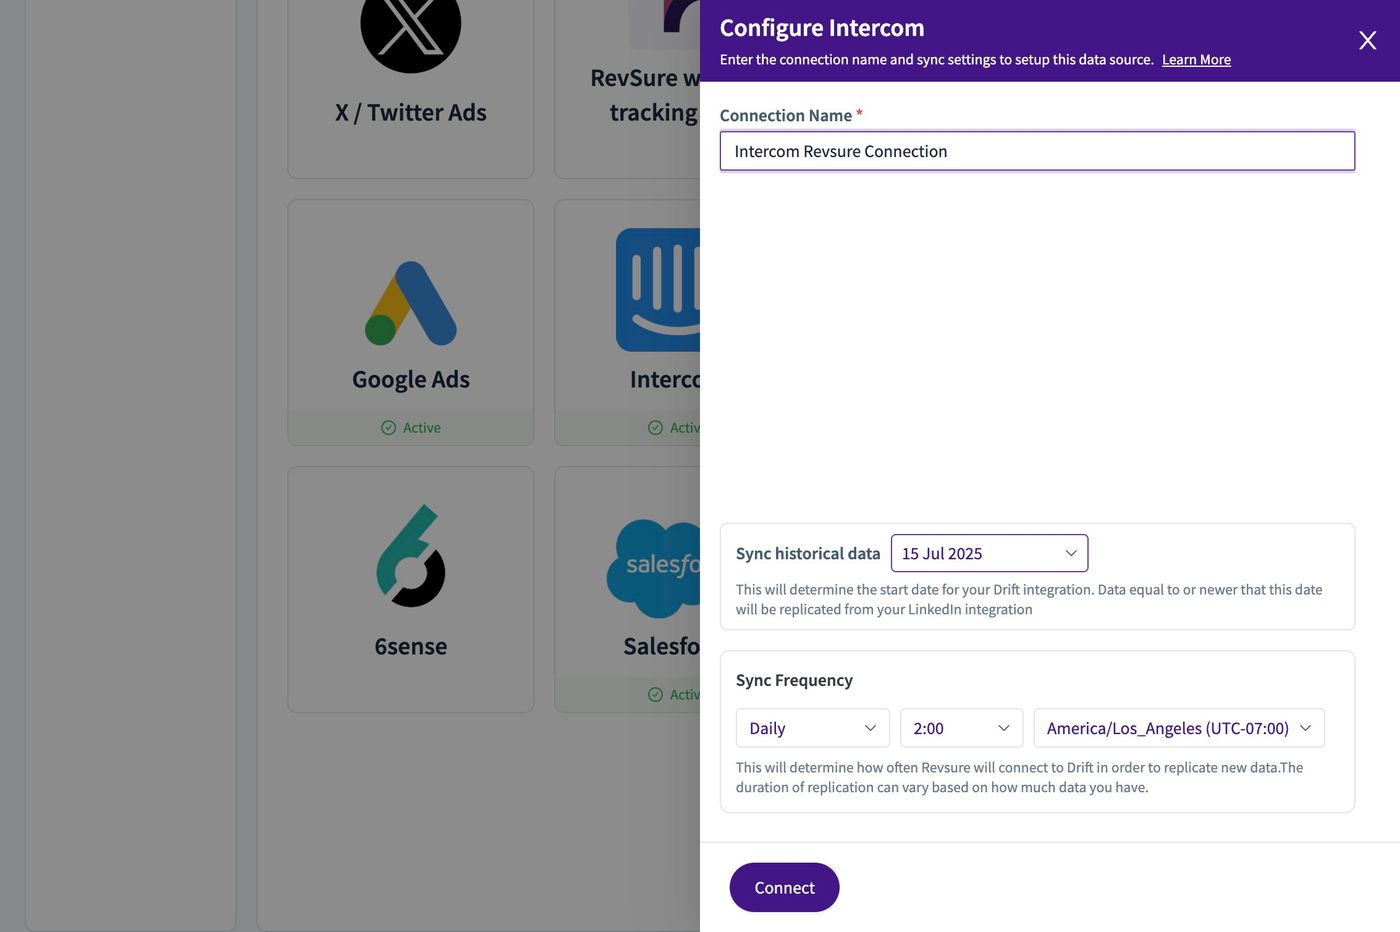
Revsure Intercom Integration Implementation Guide (figure 7)

8. Select the Date from which you want data to be pulled from using the Date Widget
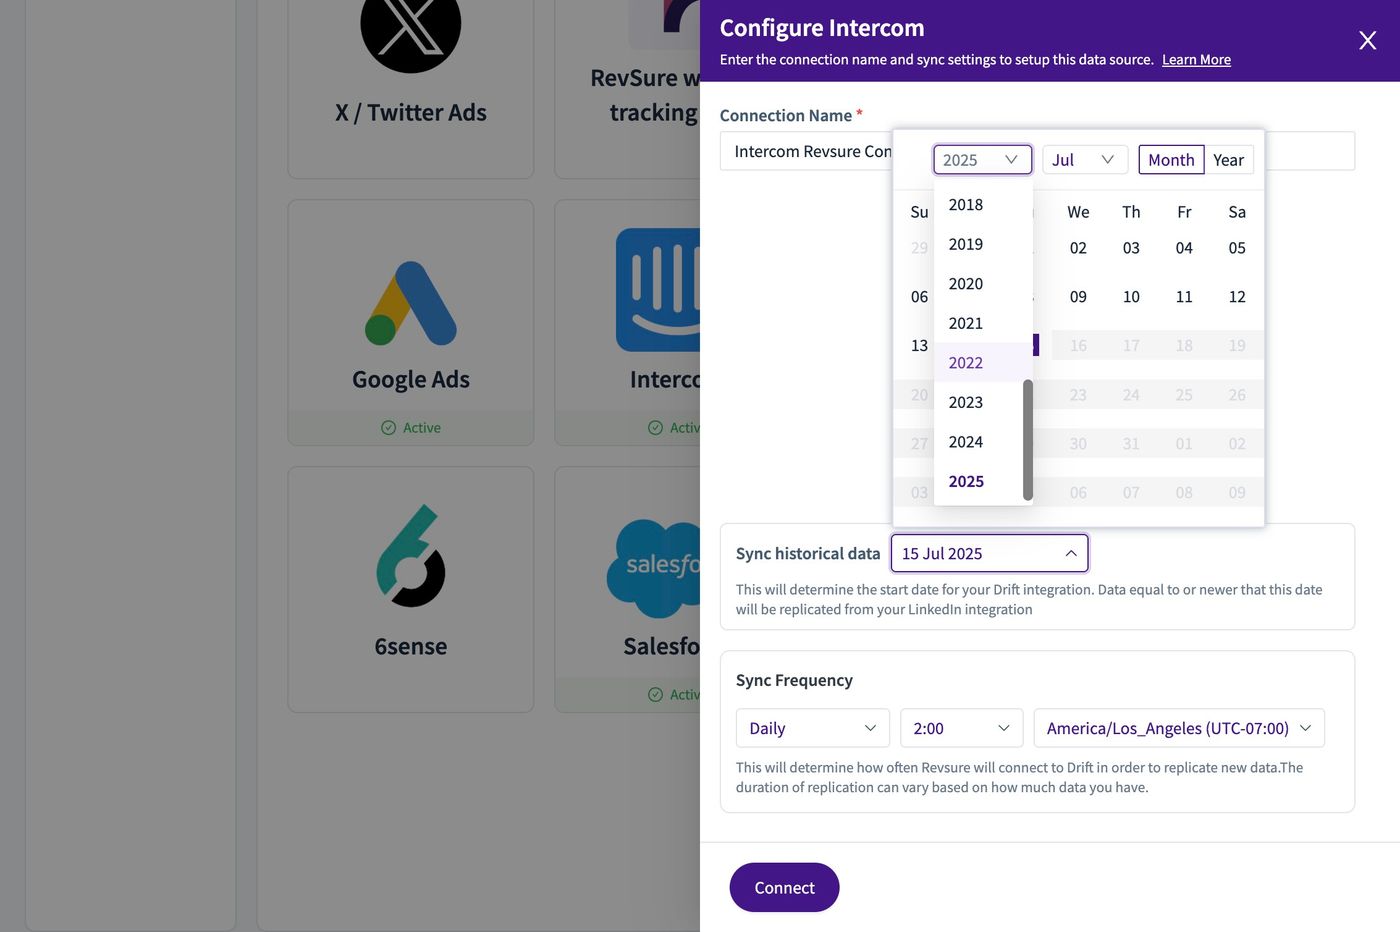
Revsure Intercom Integration Implementation Guide (figure 8)

9. Click "Connect"

Revsure Intercom Integration Implementation Guide (figure 9)

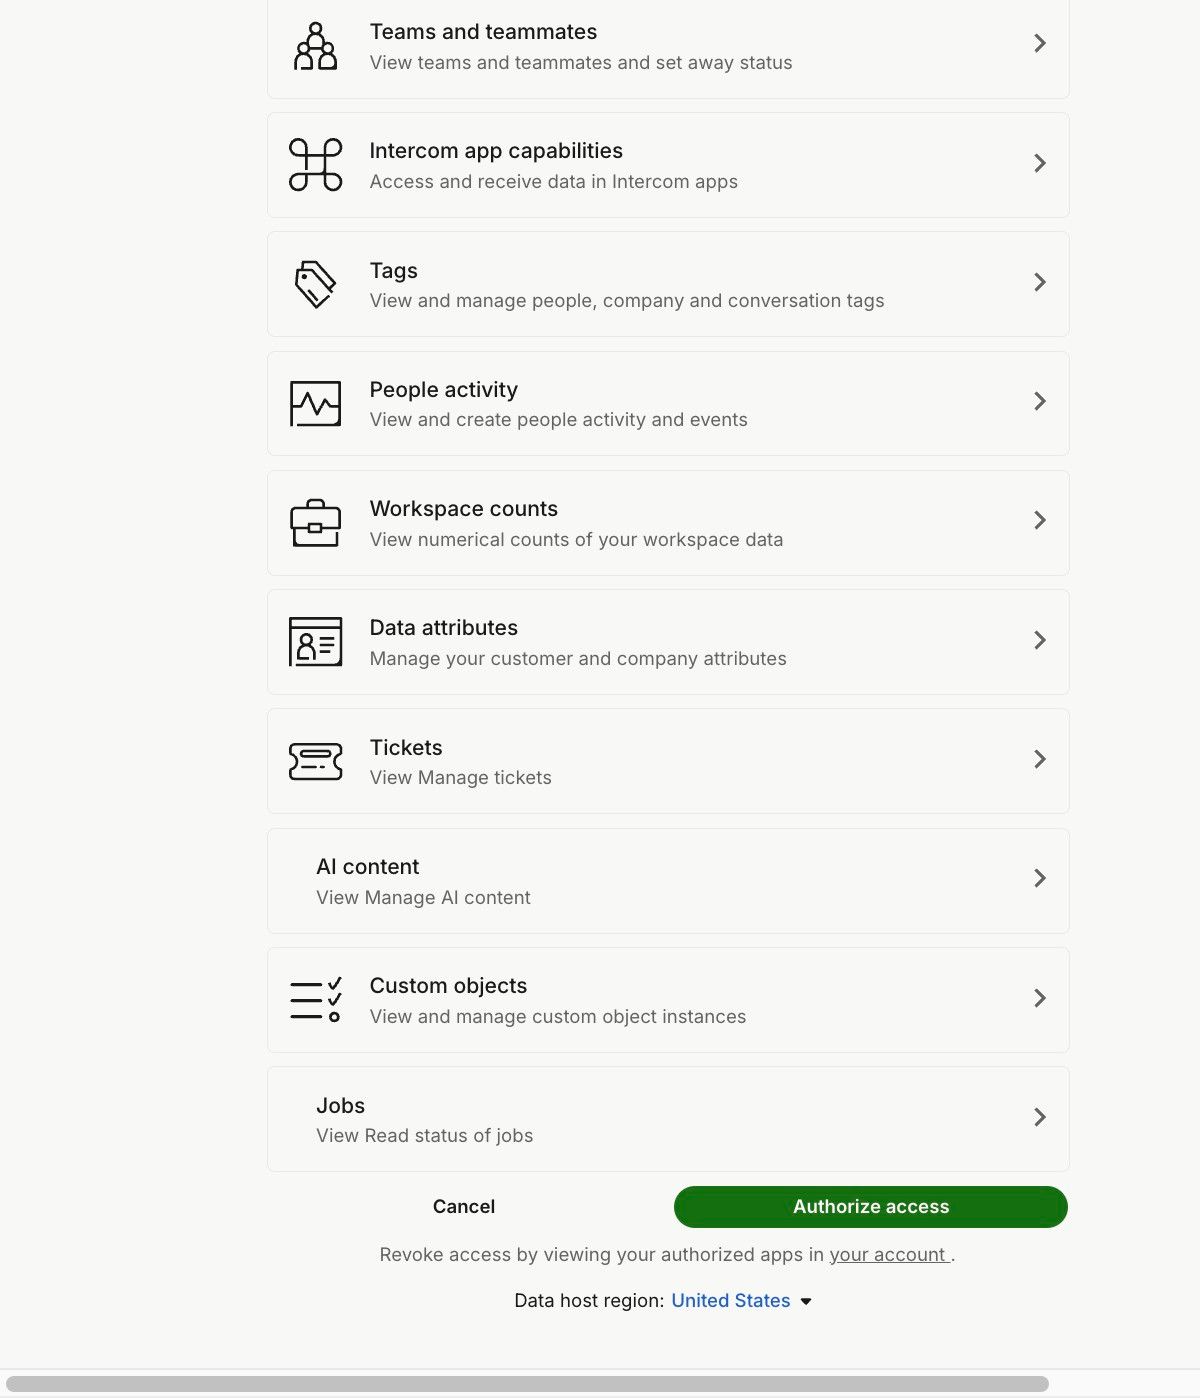
10. Check the Permissions in the Oauth Window
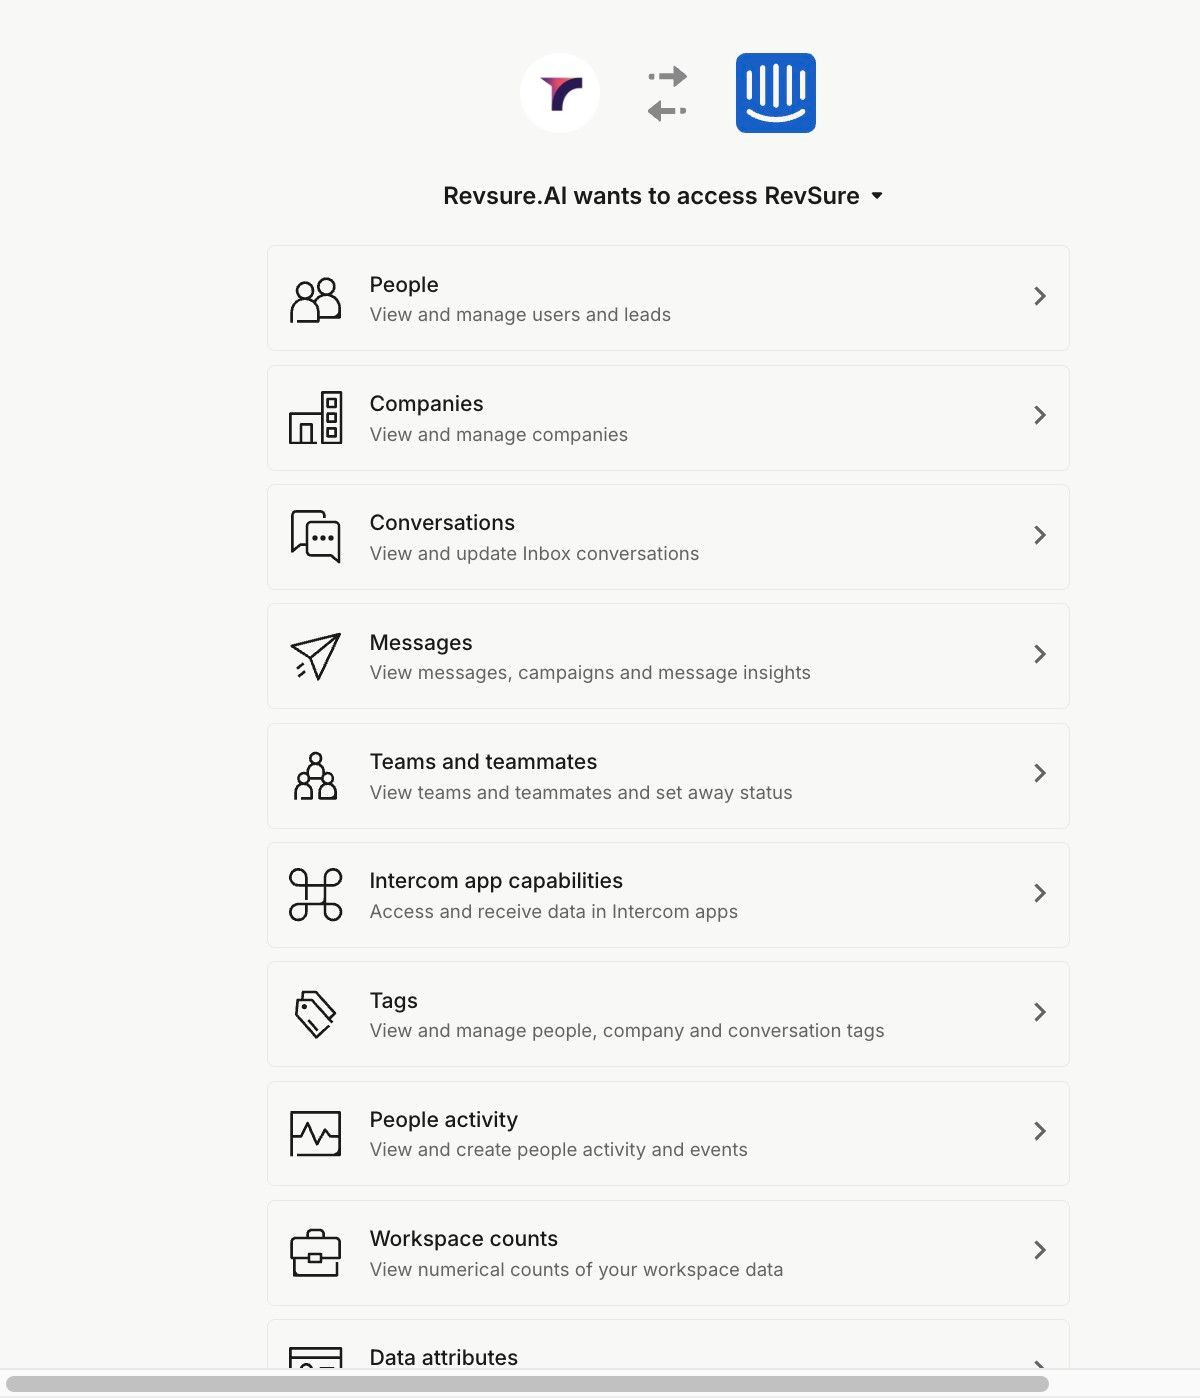
Revsure Intercom Integration Implementation Guide (figure 10)

11. Click "Authorize access"

Revsure Intercom Integration Implementation Guide (figure 11)

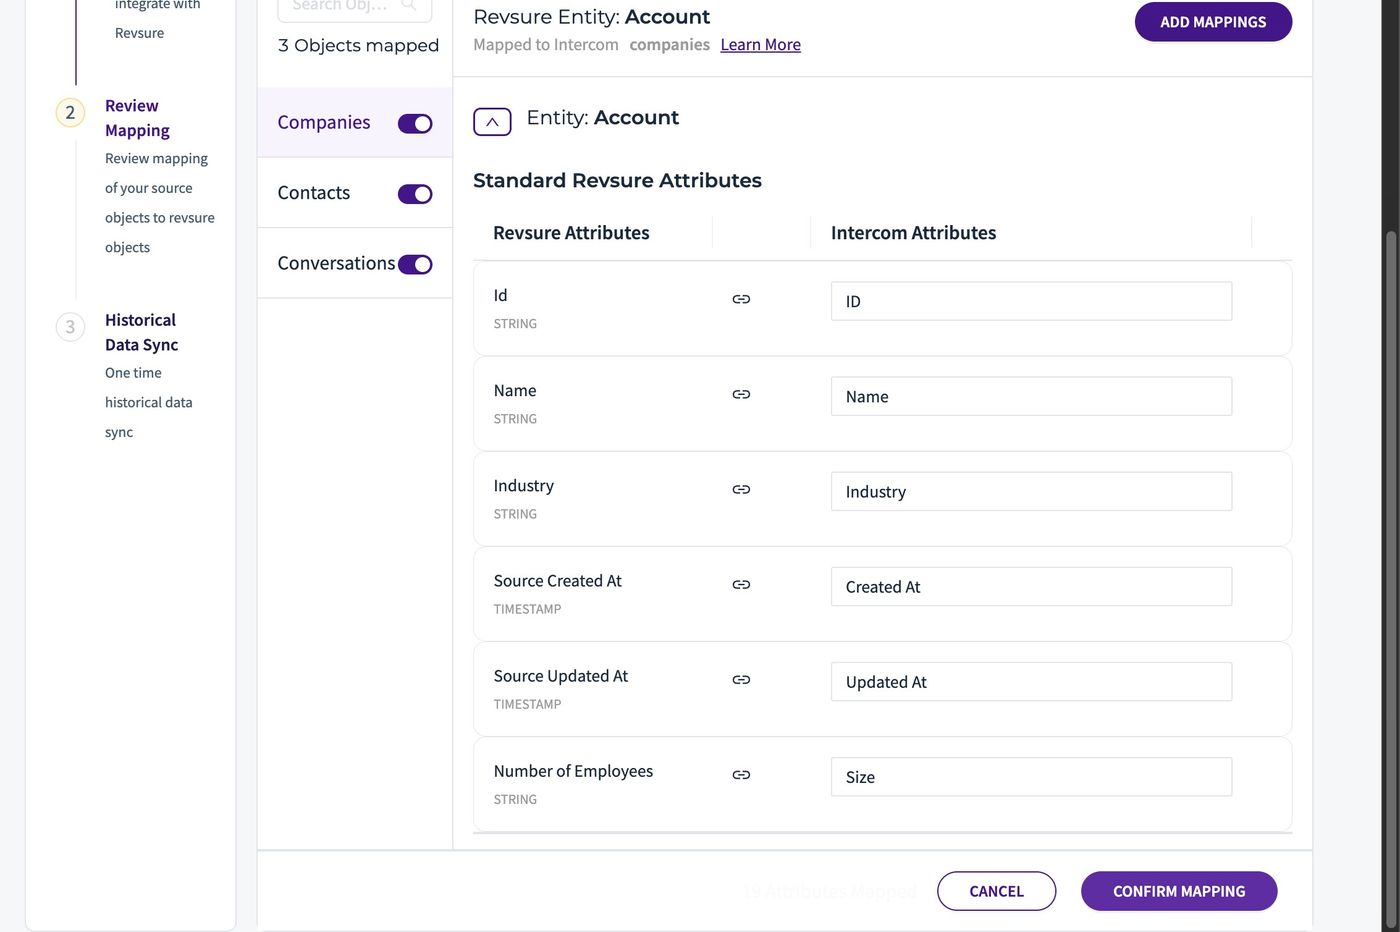
12. Click "Confirm Mapping"

Revsure Intercom Integration Implementation Guide (figure 12)

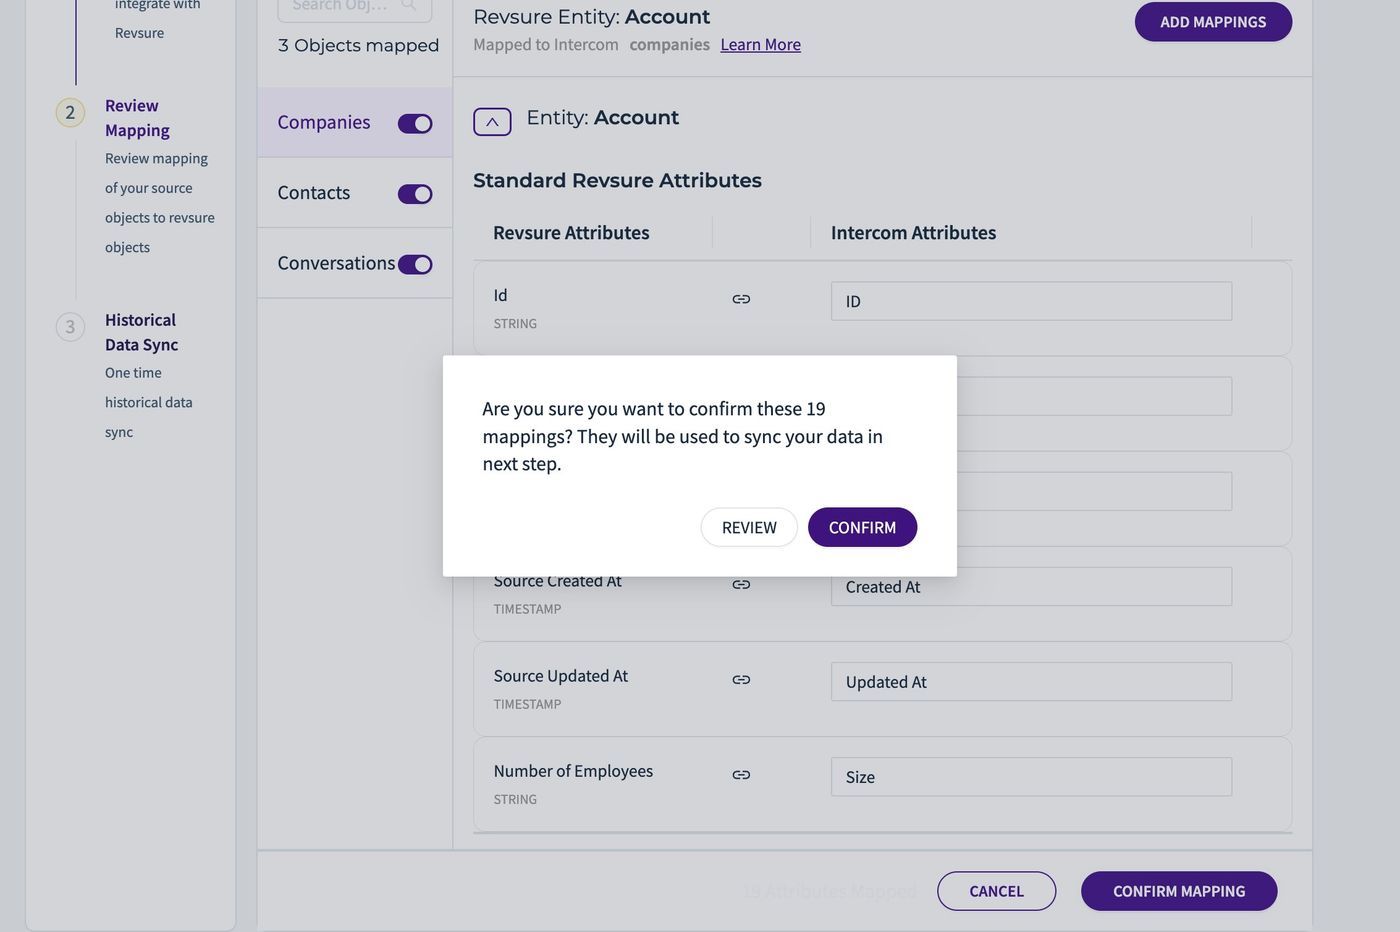
13. Click "CONFIRM"

Revsure Intercom Integration Implementation Guide (figure 13)
Ready when your stack is

Still stuck? Bring it to the session

A RevSure engineer walks your exact setup on a 30-minute working session.